-
Address: Howay Tech Building, No.2 South 8th Keji Road, Hi-tech Park, Nanshan, Shenzhen
-
Email: chris@chinaledscreens.com
-
Website: https://chinaledscreens.com
What “cutting LED film” really means

What “cutting LED film” really means
In transparent LED film projects, “cutting” is an overloaded word.
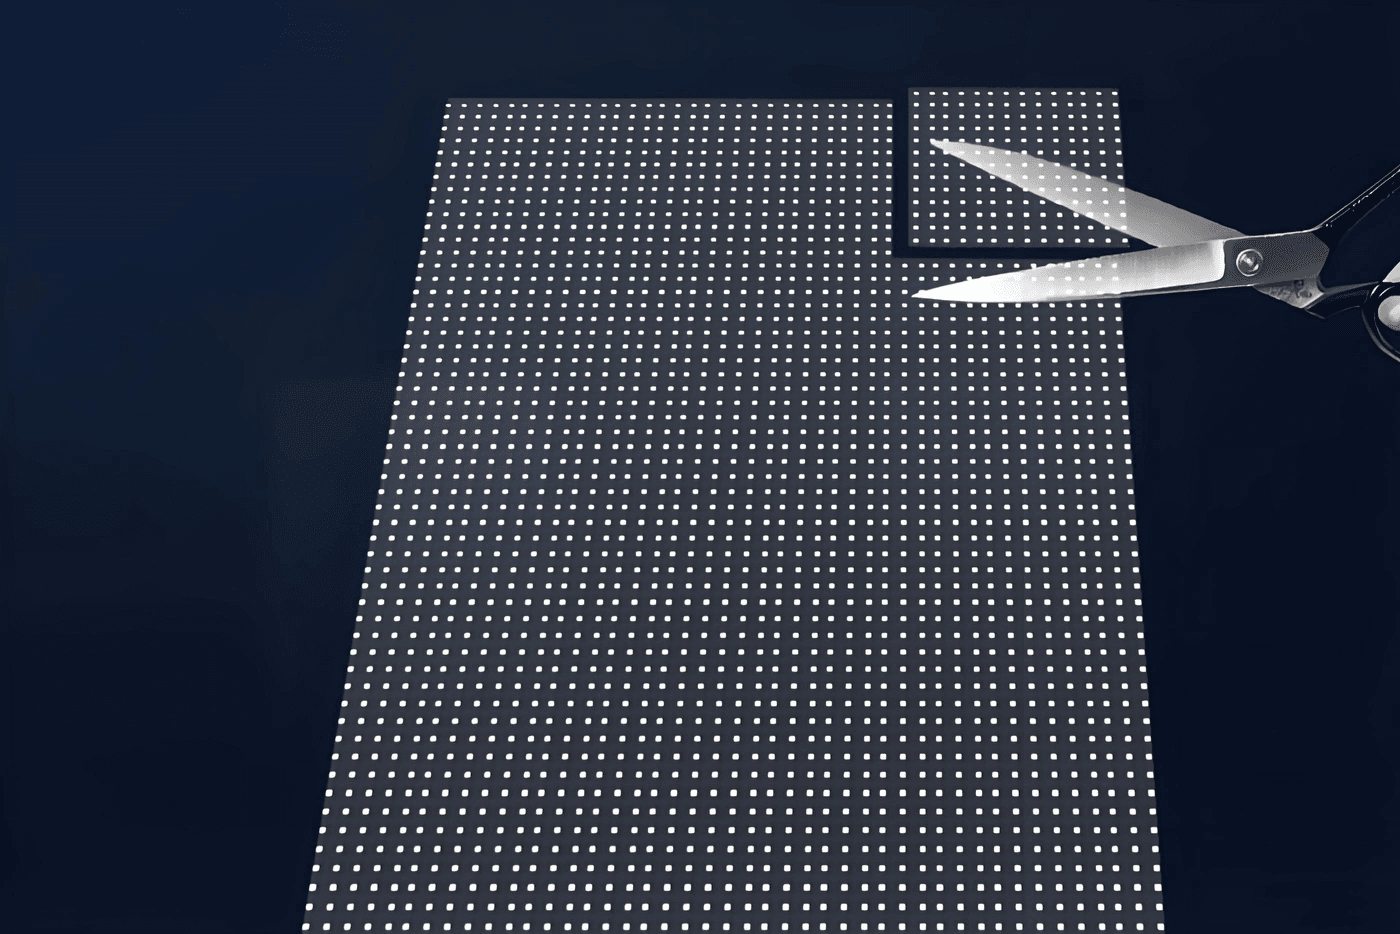
Trim-to-size (safe, common)
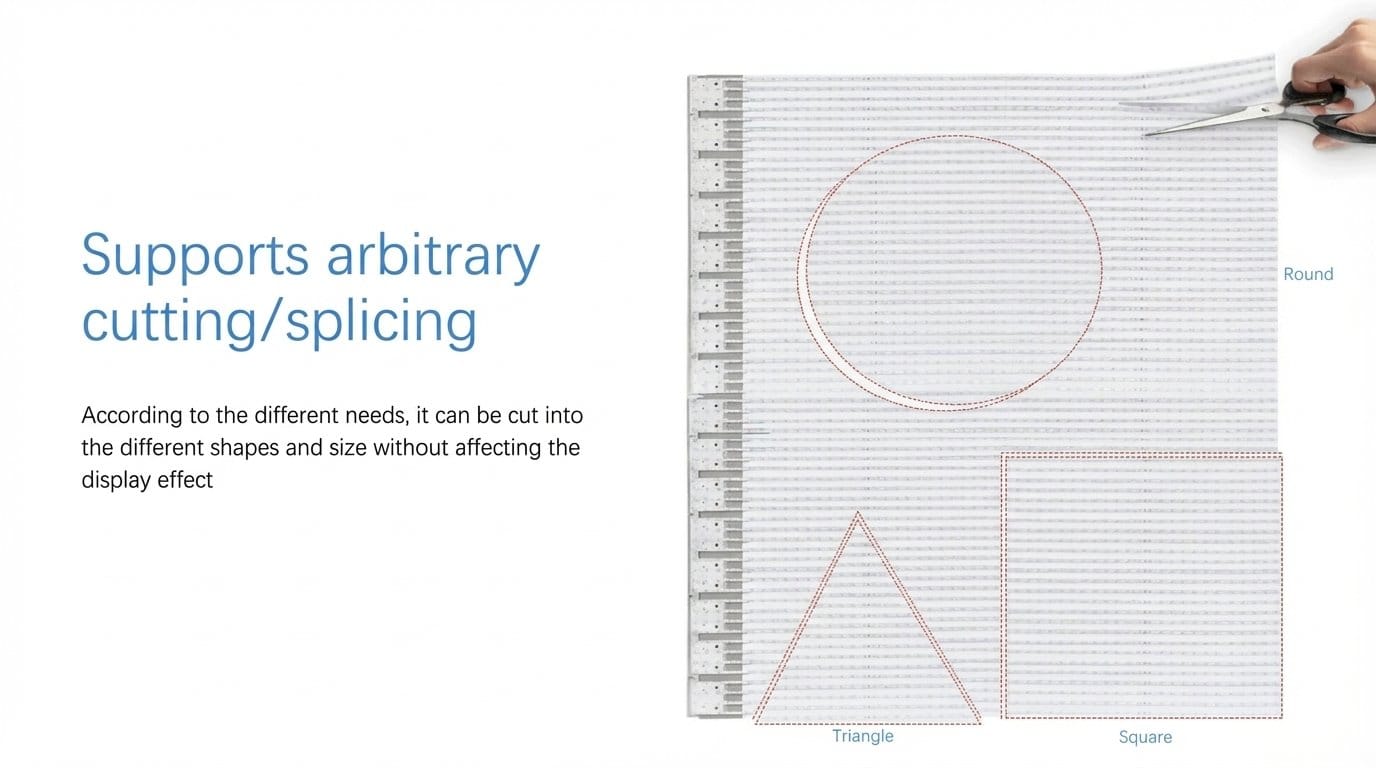
Trim-to-size means you are reducing width or height along manufacturer-approved trim lines—often aligned with the product’s mechanical frame or bezel direction. A well-known transparent LED film datasheet describes film expansion and trimming as “cut-to-size in parallel with the bezel,” and the specification section states trimming is allowed only in that direction.
Translation for engineers: Your film may allow trimming, but only as a controlled, one-direction operation. That is very different from “cut any curve you want.”
Table of Contents
Freeform cutting (risky unless factory-prepared)
Freeform cutting implies “I can cut a circle out of the film like a sticker.” For most LED film constructions, that’s where problems start:
- you may sever data lines or power rails,
- you may create partially powered pixel islands,
- you may expose edges that lift over time,
- and you may void warranty depending on brand/model.
Best practice: treat true freeform outlines as a design + manufacturing task, not an on-site improvisation.
Choose the right platform before you cut
Before you invest time into custom shapes, confirm that LED film is actually the right technology for your glass.
LED film is best-fit when:
- you must preserve daylight and visibility through glass,
- structure must be minimal (retrofit constraints),
- content is designed for transparency (bold shapes, motion, negative space).
Start with our LED film screens & Adhesive LED Transaprent Film Screens overview, then compare with transparent LED screens if you suspect you need more rigid modularity.
Consider LED glass or other formats when:
- the glass itself must be the engineered display element (premium integration),
- you need maximum cleanliness with fewer seams,
- the project is planned early enough to coordinate glazing.
If that’s your case, read the LED glass screens guide.
The professional workflow: CAD → pixel map → cut plan
If you want custom shapes to look intentional (not hacked), you need a repeatable workflow.
Step 1: Capture the glass shape correctly
Do not start with “approximate measurements” for curves.
Use one of these:
- DXF from the façade/glass supplier (ideal)
- On-site paper template/stencil taken from the glazing bead line (good retrofit method)
- Laser measurement + reference points (only if your team is trained)
Define:
- the visible glass boundary (what people see),
- the allowed “equipment zone” (where cables/boxes can live),
- minimum clear zones for safety/sightlines.
Step 2: Convert geometry into a pixel map
Your content and your cutting must respect the pixel grid.
Create a pixel map that includes:
- total pixel width/height from your film pitch,
- the final visible shape outline,
- “safe zones” for text and logos (avoid edges and stepped pixels),
- seam and panel boundaries.
This is also where you decide if the outline is:
- a true curve (requires segmentation/factory work), or
- a stepped curve (practical on-site with masking).
Step 3: Decide the edge style: smooth arc vs stepped edge
Here’s the key engineering truth: most “curved” outlines on LED systems become stepped edges unless you use specialized custom tiles or factory cutting.
A stepped edge can look premium if you:
- keep a consistent dark reveal around the silhouette,
- design content that doesn’t put thin lines right on the edge,
- avoid aligning seams into one vertical stripe.
Free-form builds can also create camera artifacts and secondary patterns if the pixel grid + reflections interact poorly—especially on glass. That’s why the edge strategy and content strategy must be planned together.
Cutting rules you must follow (the non-negotiables)
Rule 1: Only cut where your film model allows it
Some films explicitly allow trimming but restrict the direction (for example, only parallel to bezel).
Practical interpretation:
- You can often trim straight in the allowed direction.
- You typically should not cut across the pixel mesh randomly.
- If the shape requires a curve, you solve it through layout + segmentation + masking, not “scissors artistry.”
Rule 2: Never cut through “no-cut zones”
Even when trimming is allowed, define a “no-cut zone” that includes:
- power/data connection edges,
- controller interface regions,
- any reinforced sections the manufacturer uses for reliability.
If you don’t have the manufacturer’s cut-line drawing, treat this as a red flag. Cutting without a cut-line spec is how installers destroy perfectly good film.
Rule 3: Edge finishing is part of the electrical reliability
The edge is where most long-term failures begin:
- lifting at corners,
- dust ingress at the boundary,
- micro-delamination from cleaning chemicals,
- stress concentration from cable pull.
Your edge plan should include:
- a transparent edge sealing tape (UV-stable),
- a consistent border mask (black reveal) to hide steps and protect edge,
- a cleaning protocol (what chemicals/tools are allowed).
If you need a deep installation walkthrough, reference our LED film screens guidee and our adhesive flexible LED film guide.
How to fit custom glass shapes (practical scenarios)
A) Arched windows (the most common “custom” request)
Best-fit strategy: stepped edge + mask
- Build your rectangular film area using standard sheets/panels.
- Trim only along allowed cut directions (usually straight trims).
- Approximate the arch using:
- multiple narrow segments (chords), or
- a stepped pixel boundary hidden behind a dark mask border.
- Ensure content safe zones stay away from the arch edge.
Why this works: A stepped edge looks bad only when you highlight it. A consistent reveal makes it look designed.
B) Triangles and trapezoids (angled curtain wall panes)
Best-fit strategy: straight-line trims + smart orientation
These shapes often can be achieved without “curves,” which is good news. But there’s a trap: if your film only trims in one direction, you must orient sheets so that:
- the longest trims happen in the allowed direction,
- the “short side” becomes a seam rather than a cut.
Use your pixel map to decide:
- where seams should land,
- where power/control boxes can hide (often the wider base).
C) Circular feature glass (the “perfect circle” problem)
Best-fit strategy: do not promise a perfect circle from on-site cutting
A perfect circular boundary typically requires either:
- factory custom processing, or
- a design compromise (stepped circle + heavy masking).
If the architect insists on a pristine circle outline visible from 2–3 meters, the best engineering answer is often:
- “We can do a stepped circle with a reveal,” or
- “We should consider LED glass or a different display strategy for that aesthetic.”
D) Organic curves and logo outlines
Best-fit strategy: treat outline quality as a product requirement
Organic curves amplify every flaw:
- edge stepping,
- seam frequency,
- reflections on glass,
- content aliasing.
For these, adopt a parametric workflow: geometry → segmentation → pixel map → content simulation. This is also where you should address moiré risk and reflections early, because transparent builds on glass can accentuate aliasing if pitch, angles, and content frequency aren’t controlled. (
Content strategy matters more on custom shapes
Custom shapes fail visually when the content ignores the medium.
Use “transparency-first” design
- Keep 30–60% of the canvas as negative space (depends on glass visibility goals)
- Use bold forms and large typography
- Avoid thin lines near the edge of the shape
Plan day vs night behavior
Transparent film installations often need radically different brightness levels by time of day; one industry explainer describes daytime brightness often reaching high levels to compete with sunlight, with night-time dimming to prevent glare.
What you do with that:
- day playlist: higher contrast, simpler layouts
- night playlist: softer brightness, richer visuals, less glare-prone whites
Commissioning: how you prove the cut-and-fit is correct
Treat custom cutting like a deliverable with an acceptance test—because it is.
Day test (worst sun angle)
- Verify readability from the agreed viewing distance
- Confirm no “hot edge” glare on the glass
- Check that the shape reads cleanly (mask border works)
Night test (interior comfort)
- Confirm dimming works and is not “blinding”
- Check reflections: downlights + shiny floors can ruin perceived contrast
- Validate content doesn’t highlight seams and edges
Technical QC
- full white / full RGB / gray ramp to catch line damage
- seam alignment check
- controller mapping check (content doesn’t drift or crop unexpectedly)
Risk register (what fails in real installs)
| Risk | Root cause | Prevention |
|---|---|---|
| Pixels dead along the cut edge | Cutting through active circuitry | Only trim along approved lines; do not “freehand” |
| Edge lifting after weeks/months | Poor edge sealing + cleaning stress | UV-stable sealing + mask border + cleaning protocol |
| Shape looks jagged/cheap | No reveal/mask; content highlights steps | Dark reveal + content safe zones + avoid edge detail |
| Moiré/shimmer on camera | Pitch/content frequency + reflections on glass | Pitch selection + content rules + test reel on site |
| Maintenance nightmare | Boxes inaccessible; no service plan | Define access points + spare strategy + documentation |
Recommended internal resources (5–7 links)
- ChinaLEDScreens
- LED film screens
- LED film screens guide
- Adhesive flexible LED film guide
- Transparent LED screens
- LED glass screens guide
- Contact us (send CAD/DXF for feasibility)
FAQs
Can installers cut LED film on-site to make curves?
Often they can trim to size in specific directions, but true curves are usually achieved through segmentation + masking or factory customization. If a model specifies trimming direction limits (e.g., only parallel to bezel), treat that as a hard rule.
What’s the cleanest way to make an arch look premium?
Use a consistent dark reveal (mask border) and keep content away from the edge. “Perfect curves” are less important than a silhouette that looks intentional at typical viewing distance.
Does cutting affect warranty?
It can. If you cut outside the approved trim lines, you’re likely outside warranty terms. Always request the product’s cut-line specification before committing.
What should I send a supplier to get a yes/no quickly?
- DXF outline (or a paper template scan with scale reference)
- photos of glass + mullions + installation constraints
- target viewing distances
- sun exposure notes (morning/afternoon)
- content type (brand video, promotions, wayfinding)
If you want us to validate feasibility and propose a cut plan, use Contact us and attach your DXF/template.