Talk To Our Expert, Get A Solution in 20 minutes
Share your LED screen needs. Our experts will provide solutions and a quick response.

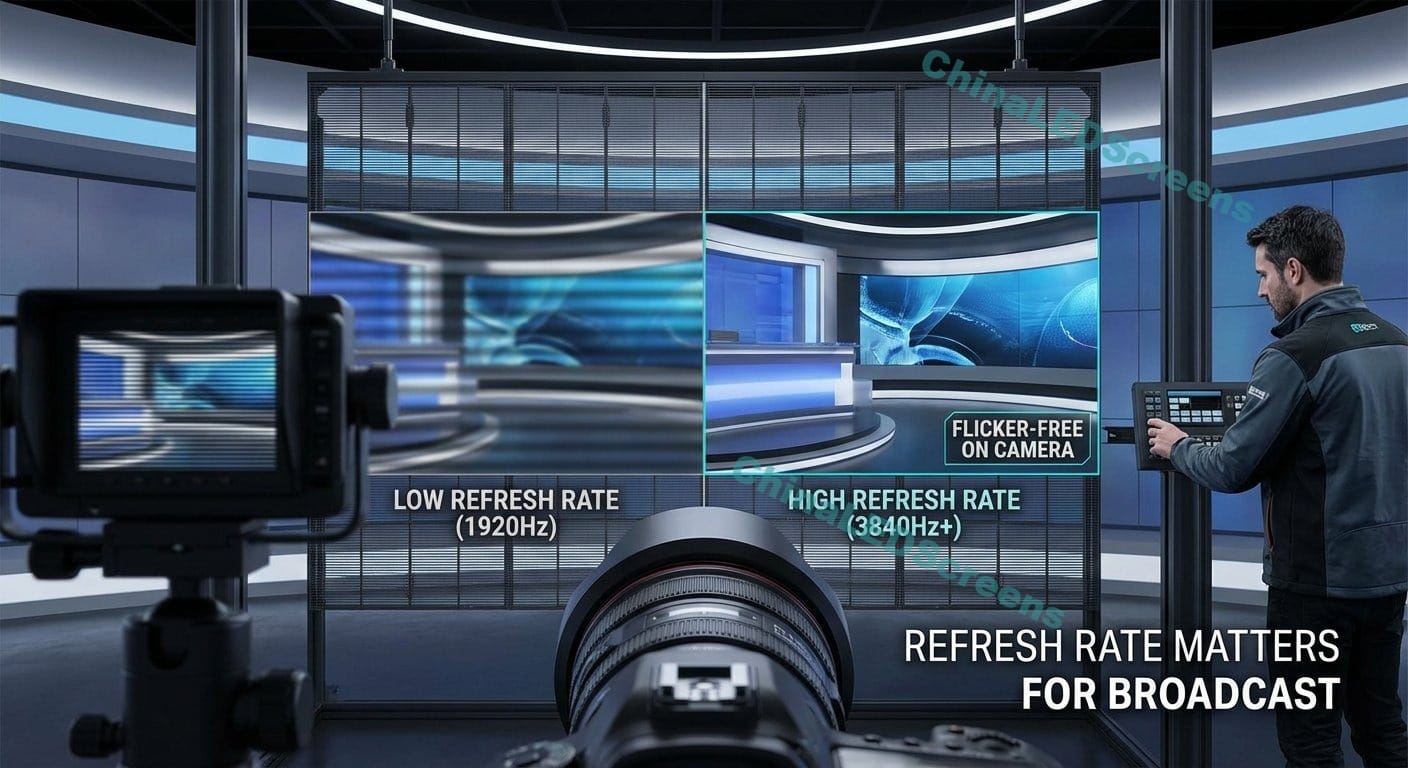
For TVs/monitors, refresh rate often means “frames per second displayed.”
For LED walls, the term is commonly used differently: it relates to how the LEDs are switched on/off to create brightness via PWM, and it’s often expressed as thousands of Hertz (e.g., 3840 Hz, 7680 Hz).
That matters because your camera doesn’t continuously see light like your eye. It samples exposure in discrete windows (shutter), and many sensors read out line-by-line (rolling shutter). When the sampling window doesn’t line up with LED timing, you see artifacts.
LED panels often use multiplexing/scan mux: only some rows (or groups) are lit at a time, rapidly cycling so the human eye integrates it.
Cameras, especially rolling shutter cameras, may capture different parts of the frame at slightly different times. If during the shutter-open period the camera “collects” a different number of LED scan cycles in different sensor rows, you get bright/dark bands. In practice, a mismatch between camera shutter timing and the panel’s scan mux period often leads to scan-line artifacts.
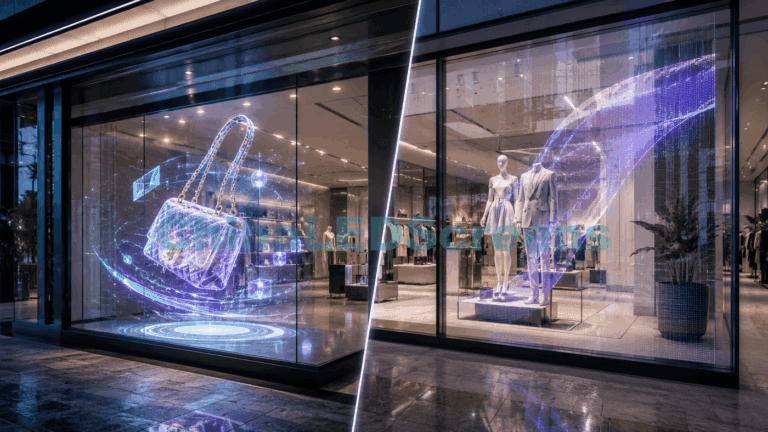
This is common for transparent LED storefronts: day mode is bright; night mode is dim to avoid glare.
At low brightness, PWM pulses become narrower, and timing artifacts can become more visible on camera—especially in dark or mid-gray content. Scan ratio and driver behavior affect available time for refresh and PWM behavior, and artifacts can appear as bands when different sensor sections catch different numbers of pulses.
Even if flicker isn’t consciously perceived, it can still contribute to discomfort (e.g., fatigue, eyestrain) for some people under certain modulation conditions. It’s a useful reminder that “looks fine” isn’t always “is fine.”
In many LED wall contexts, 3840 Hz and 7680 Hz are commonly cited as “typical” refresh values. Higher refresh generally reduces the chance of visible banding/flicker across more shutter settings—especially for broadcast/multi-camera demands.
Transparent LED reality check:
Many transparent LED products advertise 3840 Hz as a “high refresh rate.” That’s often adequate for casual smartphone filming if scan ratio + PWM behavior + processor timing are decent. But for professional cameras, fast shutter, panning shots, or dim content, you may still see artifacts unless the whole timing chain is designed for on-camera use.
Scan ratio describes how many lines (rows/groups) the driver IC controls in sequence. A lower scan ratio (e.g., 1:8 vs 1:16) generally means the panel has more time to increase refresh rate and/or PWM behavior, reducing artifacts.
If your supplier can’t tell you scan ratio (or dodges the topic), that’s a procurement red flag for any “camera-friendly” requirement.
Some processors can tune panel refresh timing to camera shutter settings (or at least allow better synchronization). With shutter-sync/genlock-capable systems, you can reduce artifacts like scan-mux lines and exposure instability—especially when the camera isn’t open long enough to capture a complete PWM cycle.
For live broadcast or multi-camera (even two cameras filming the same storefront for different angles), synchronization features become far more valuable.
You can reduce artifacts without changing hardware—sometimes.
This isn’t because the LED wall “runs on mains frequency,” but because many camera and lighting environments end up harmonizing better when you stay consistent with local standards. (Still: test is king.)
At 24 fps, a 180° shutter corresponds to ~1/48 exposure.
Safe starting points (field defaults)
Then test:
Banding often improves when shutter speed becomes a better match (or multiple) of the LED timing cycle. In practice, mismatched relative frequencies between LED PWM/refresh behavior and camera shutter can produce flicker and rolling bands—so structured testing is essential.
If your processor supports true shutter-sync/genlock workflows, use them. Otherwise, you’re hunting for a “lucky” shutter value—possible, but not scalable.
| What you see on camera | Likely root cause | Fast fixes | System-level fixes |
|---|---|---|---|
| Rolling dark horizontal bands moving | Rolling shutter sampling vs LED PWM/scan mux mismatch | Try 180° shutter; adjust shutter speed; avoid extreme fast shutter | Lower scan ratio panels; processor with timing/shutter-sync; genlock workflow |
| Thin “scan lines” / mux lines | Scan mux period mismatch with shutter window | Slight shutter change; reduce pan speed | Shutter-sync features; better scan ratio; higher refresh headroom |
| Flicker only when dimmed | PWM pulse scarcity at low luminance; timing instability | Raise LED brightness and reduce camera ISO; avoid ultra-low brightness | Panels/driver design that maintains stable low-luminance PWM behavior; better scan ratio |
| Looks fine to eye, awful on phone | Phone rolling shutter and auto-exposure fighting PWM | Lock exposure in phone/pro camera app | Improve timing chain; higher refresh; better processing |
If “camera-friendly” matters, your RFQ must include measurable acceptance, not marketing adjectives.
The engineering mindset we use for supplier validation is aligned with what we outline in:
FAT (Factory Acceptance Test)
SAT (Site Acceptance Test)
For projects where the screen must look clean on camera for marketing content, include a documented reference in your project file alongside your solution category choice:
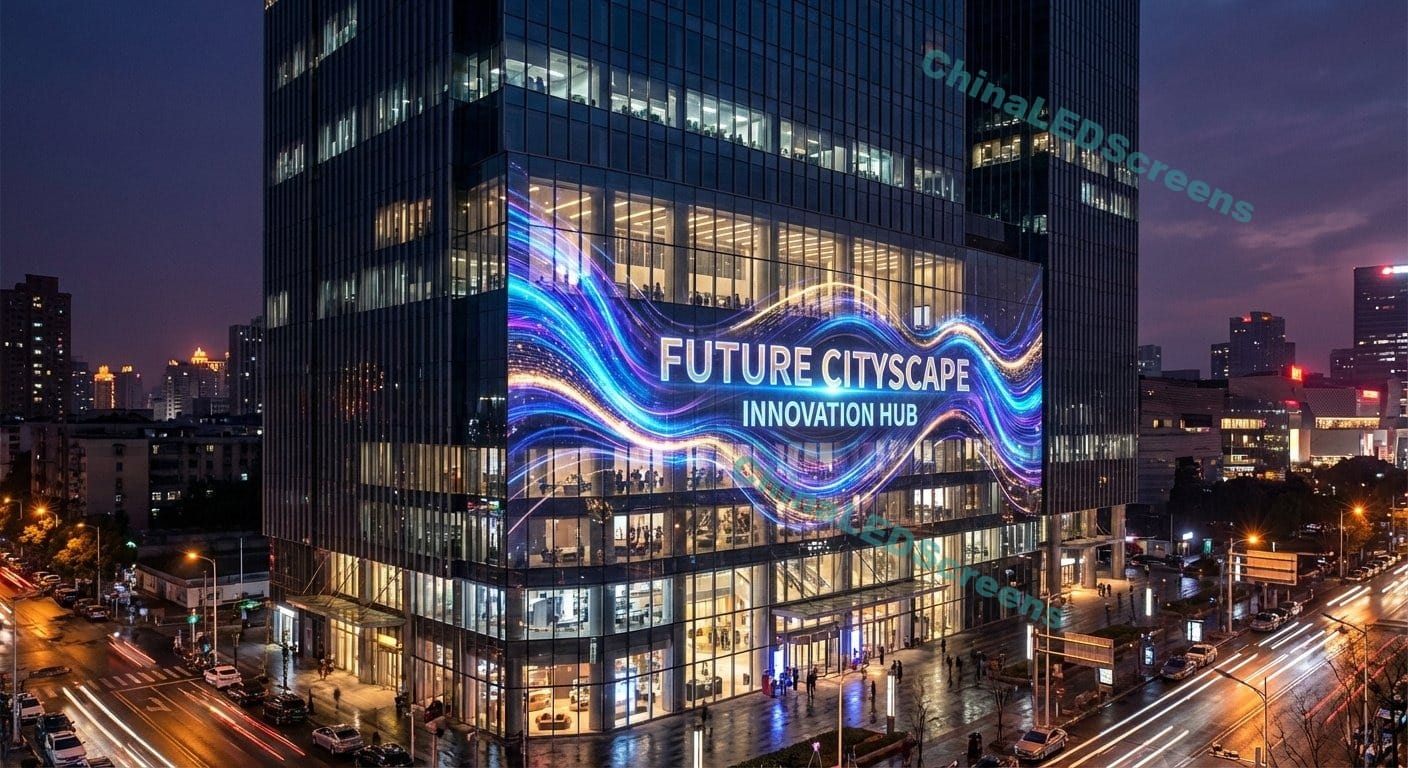
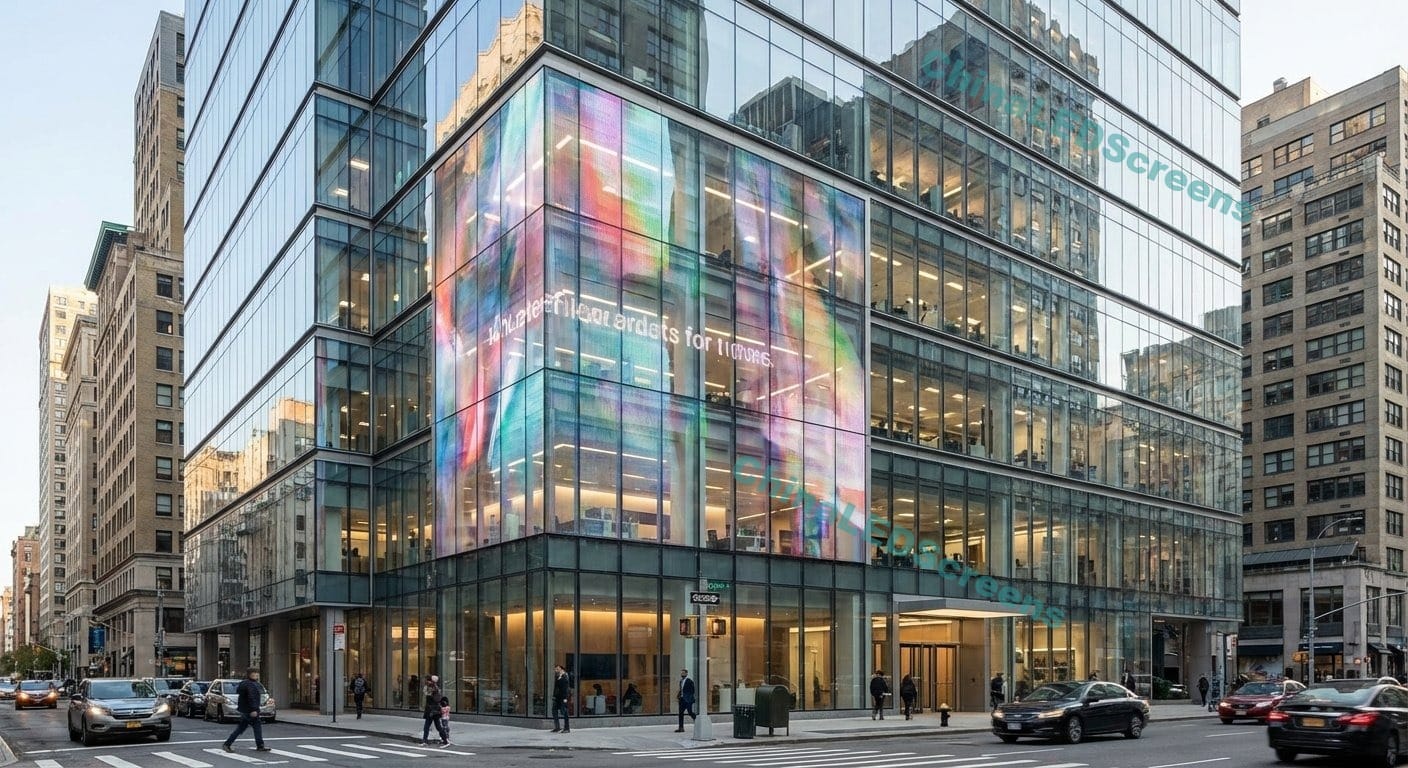
Storefront transparent LED is often sold on brightness and transparency. On camera, the real battle is often night mode, because:
That’s why scan ratio + low-luminance behavior matter as much as headline refresh rate.
If you’re deciding between solution types:
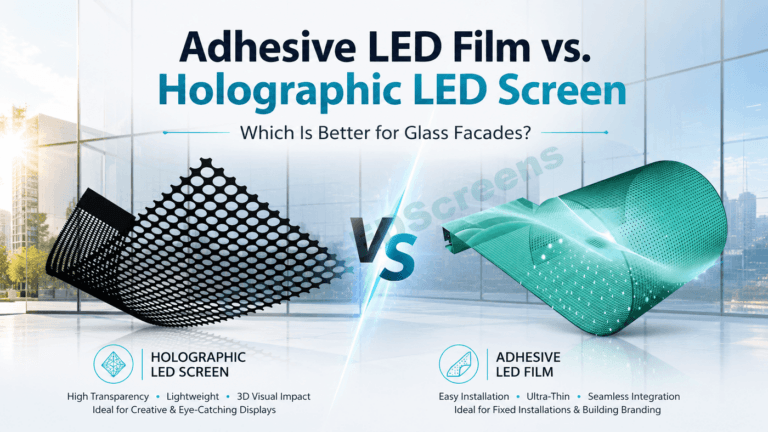
Film can be visually elegant, but the on-camera outcome still depends on timing chain + controller + commissioning quality—not just the film itself.
If your project will be filmed—storefront marketing, product launches, influencer content, livestreams—treat “camera-friendly” as a system requirement:
If you want, share:
and we can propose a test plan + best-fit solution category starting from ChinaLEDScreens or via Contact.